Cleaning Instructions Template for Recurring Clients: What to Include and How to Use It
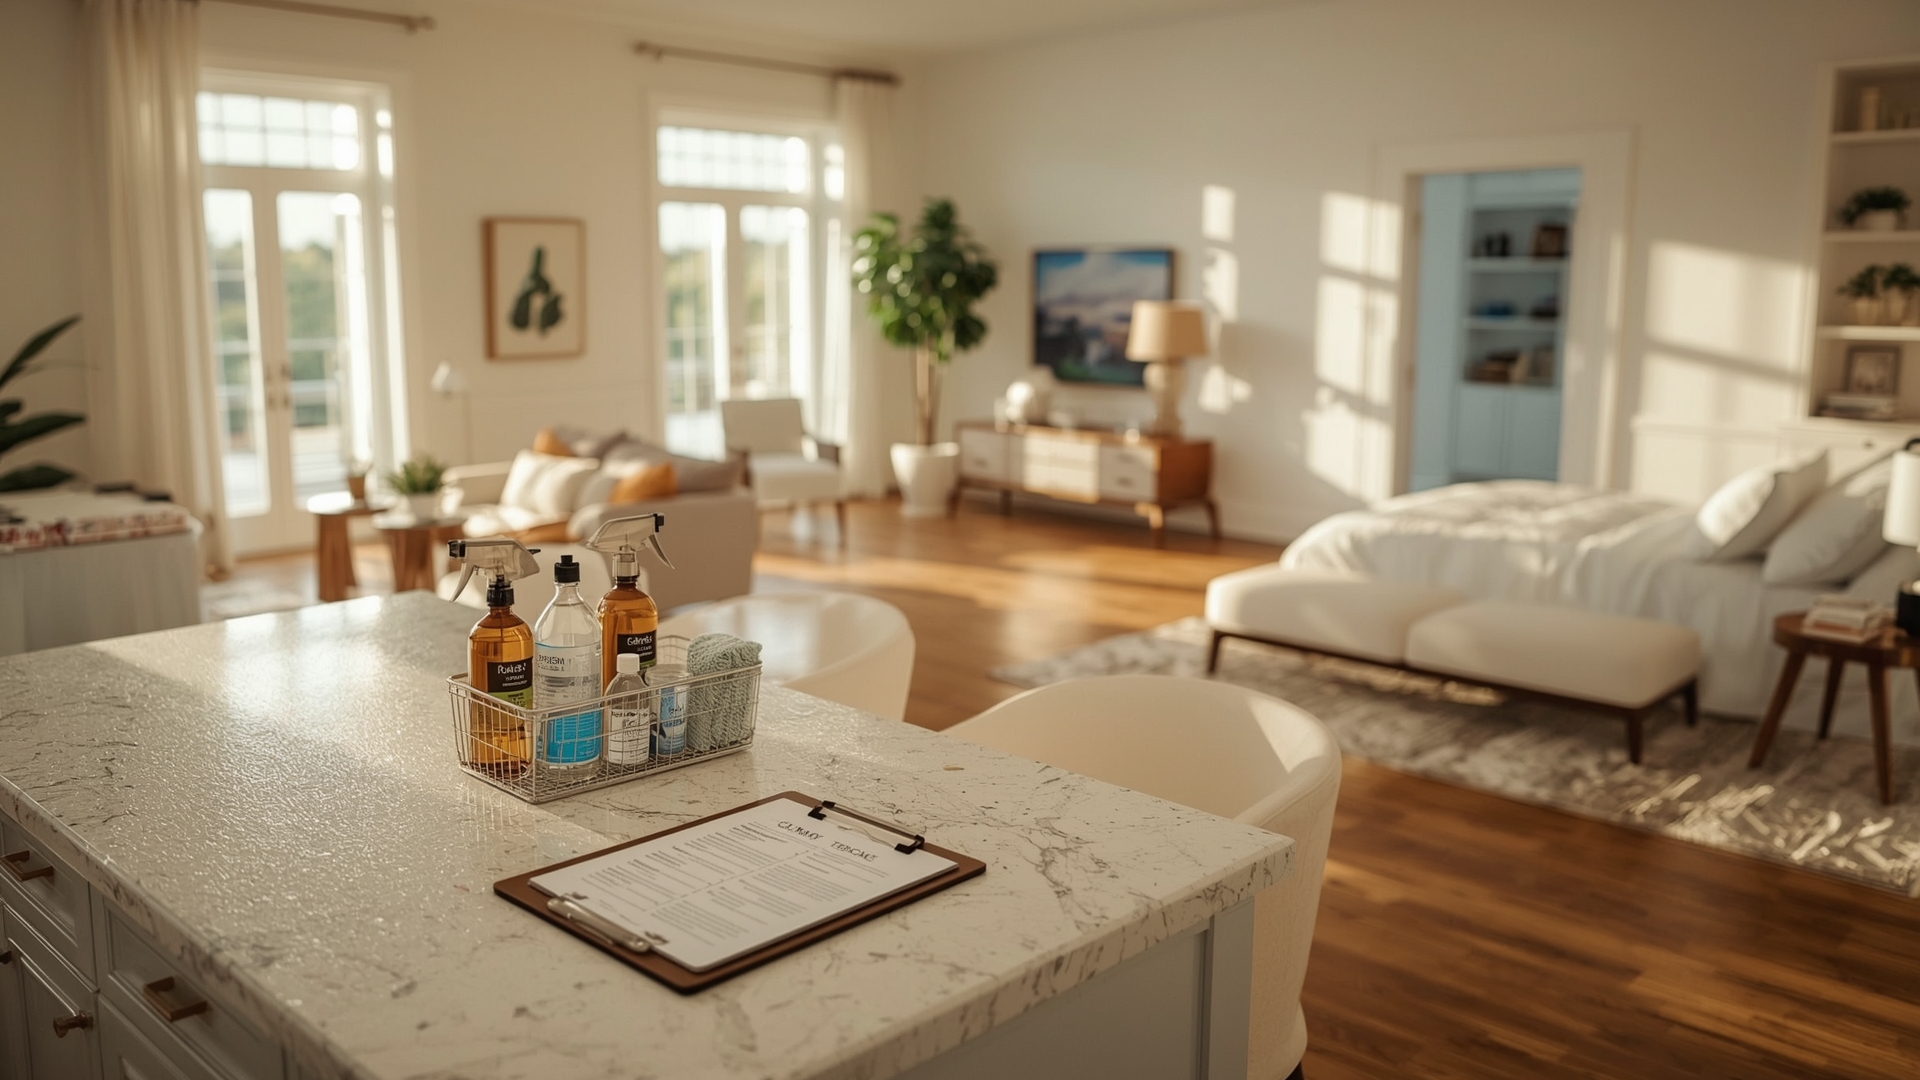
Handing your cleaner a verbal list of preferences once and hoping they remember it every visit is a recipe for frustration. A cleaning instructions template fixes that. It gives your recurring cleaner everything they need in writing — the products you want used, the surfaces they shouldn’t touch, how to get in, and what matters most to you.
This guide walks you through every section of a strong template, explains why each part matters, and helps you customize it so your home is cleaned the way you actually want it done.
Key Takeaways
- A cleaning instructions template is a written reference your cleaner uses every visit — not just the first time.
- Product preferences and surface restrictions are the two most important sections to fill out completely.
- Access and security details prevent delays and miscommunication on cleaning days.
- Priority room rankings help your cleaner focus when time is tight.
- A simple update process keeps the template accurate as your needs change over time.
- One well-written template replaces dozens of text messages and repeated verbal instructions.
What Is a Cleaning Instructions Template for Recurring Clients?
Quick Answer: A cleaning instructions template is a written document homeowners share with their cleaning service. It records product preferences, surface restrictions, access details, and priority areas so the cleaner follows your exact preferences every scheduled visit without needing reminders.
Think of it like a standing order at a café. You don’t re-explain your coffee order every morning — they have it on file. A cleaning instructions template works the same way. Your cleaner arrives knowing exactly what to do, what to avoid, and how to get in.
This is different from a one-time cleaning checklist. A checklist tells the cleaner what rooms to clean. A recurring instructions template tells them how to clean them — using your specific rules, your preferred products, and your personal preferences that stay consistent across every visit.
Why Do Recurring Clients Need a Separate Template?

Quick Answer: Recurring clients have consistent preferences that a cleaner must follow on every visit. A dedicated template prevents product errors, surface damage, and repeated verbal reminders. It also protects both the homeowner and the cleaning service if a disagreement arises.
One-off cleans are straightforward. The cleaner shows up, does the job, and leaves. But recurring cleaning relationships involve trust, routine, and specific expectations that build up over time.
Without a written template, small things get missed. The cleaner uses a spray cleaner on your marble countertop because no one told them not to. They skip the guest bathroom because they assumed it wasn’t a priority. They ring the doorbell and wait ten minutes because the lockbox code was only mentioned once, six months ago.
A written template eliminates all of that. It also protects you legally. If a surface gets damaged and you have a written record stating “do not use abrasive cleaners on bathroom tiles,” you have documentation. If you don’t, it becomes a he-said-she-said situation.
What Sections Should a Cleaning Instructions Template Include?
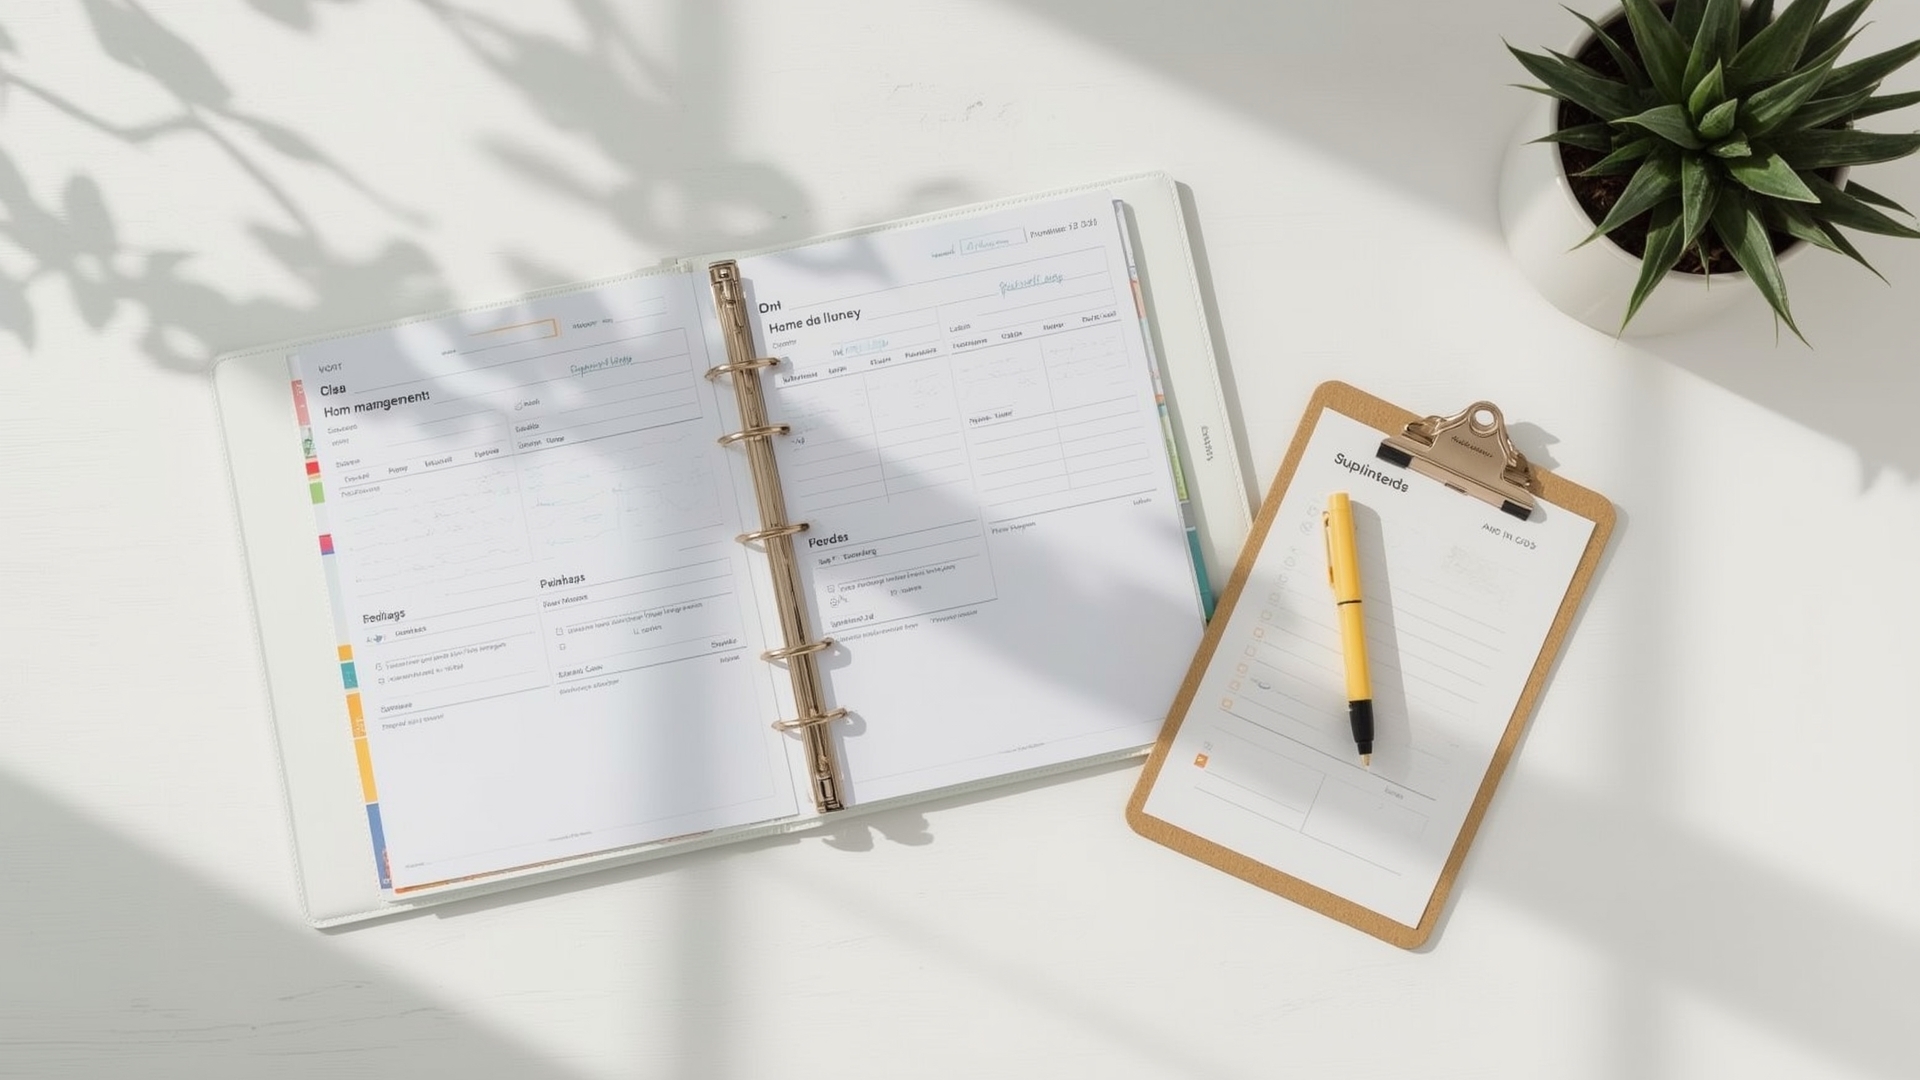
Quick Answer: A complete template should cover eight areas: client and property details, access and security information, product preferences, surface restrictions, priority room rankings, special instructions, pets and safety notes, and an update log. Together, these cover every recurring need a cleaner has.
Section 1: Client and Property Details
Start with the basics. This section identifies who the template belongs to and gives the cleaner the right contact to reach if something comes up on cleaning day.
- Full name and phone number
- Property address
- Preferred contact method (call, text, or email)
- Cleaning frequency (weekly, fortnightly, or monthly)
- Preferred cleaning day and time window
- Number of bedrooms and bathrooms
Section 2: Access and Security Information
Your cleaner needs to get in without calling you every time. This section handles that cleanly and safely.
- Key location or lockbox code
- Alarm system code and instructions (arm on entry, disarm on entry)
- Gate or intercom code if applicable
- Parking instructions
- What to do on arrival if something seems wrong
Keep this section updated. If you change your alarm code or move your spare key, update the template immediately. A cleaner waiting outside for 20 minutes wastes time they could spend cleaning.
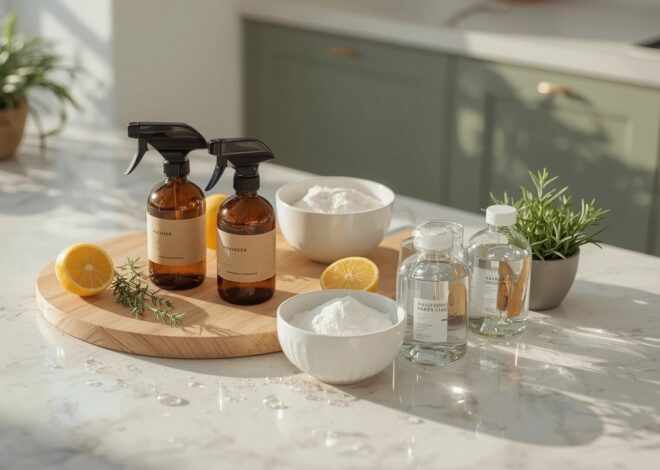
Section 3: Approved Cleaning Products
This is one of the most important sections. Listing the exact products you want used prevents product mismatches and protects surfaces you care about.
| Product Category | Approved Product | Location in Home | Notes |
|---|---|---|---|
| All-purpose cleaner | Client-supplied brand | Under kitchen sink | Use only on benchtops and appliances |
| Bathroom cleaner | Client preference | Bathroom cabinet | Safe for acrylic surfaces |
| Floor cleaner | pH-neutral solution | Laundry shelf | Dilute 1:20 with warm water |
| Glass cleaner | Streak-free formula | Under sink | Microfibre cloth only |
| Disinfectant | Fragrance-free option | Laundry cabinet | Use on high-touch surfaces only |
If you supply your own products, note where they’re stored. If you prefer the cleaning company to bring their own, specify which formulas you approve and which you don’t — especially if anyone in the home has allergies or sensitivities.
Section 4: Surface Restrictions and Do-Not-Use Rules
This section prevents damage. Some surfaces look tough but are easily scratched or etched by the wrong cleaner. Be specific here. Vague notes like “be careful with the benchtop” don’t help a cleaner who doesn’t know what product you’re worried about.
| Surface Type | Location | Restricted Product | Why It’s Restricted | Approved Alternative |
|---|---|---|---|---|
| Marble benchtop | Kitchen | Vinegar, citrus cleaners | Acid etching | pH-neutral stone cleaner |
| Hardwood floors | Living room, hallway | Steam mop, excess water | Warping and swelling | Dry microfibre mop only |
| Stainless steel appliances | Kitchen | Abrasive scrubbers | Surface scratching | Soft cloth with stainless cleaner |
| Engineered stone (Caesarstone) | Bathroom vanity | Bleach-based cleaners | Discolouration | Mild dish soap and warm water |
| Timber window sills | Bedrooms | Spray cleaners (excess moisture) | Paint peeling | Dry dusting cloth only |
Section 5: Priority Room Rankings
Life gets busy. Sometimes your cleaner has less time than expected. A priority ranking tells them which rooms matter most if they need to cut things short.
A simple numbered list works well here. For example:
- Kitchen (highest priority)
- Main bathroom
- Master bedroom
- Living room
- Guest bedroom (lowest priority if time is short)
You can also mark rooms as “skip this visit if running late” versus “never skip.” This kind of clarity makes a real difference in how satisfied you feel after each clean.
Section 6: Room-by-Room Special Instructions
General instructions cover most of the job. But every home has quirks. This section is where you document them.
| Room | Special Instruction | Reason |
|---|---|---|
| Kitchen | Do not move the coffee machine | Fixed water line underneath |
| Home office | Dust only — do not reorganise papers | Active work documents on desk |
| Master bedroom | Change bed linen only on fortnightly visits | Fresh linen in hall linen cupboard |
| Bathroom (ensuite) | Use hand towels, not cleaning cloths, for mirror | Mirror has anti-fog coating |
| Children’s room | Do not vacuum floor toys — pick up first | Small items may be sucked up |
| Laundry | Do not touch the washing machine settings | Cycle is often mid-run on cleaning day |
Section 7: Pets, Allergies, and Safety Notes
This section protects everyone in the home — including your pets and any family members with sensitivities.
- List pets by name, type, and where they’ll be during the clean
- Note any allergies to fragrance, bleach, or specific chemical families
- Flag any rooms that must stay closed while the cleaner is working
- Mention if any family member is immunocompromised and requires stronger disinfection protocols
- Note if any child or elderly person will be home during the clean
Don’t assume your cleaner will figure this out. A pet that escapes through an open door or a family member who reacts to a strong fragrance are preventable problems when you document them clearly.
Section 8: Update Log
Your home changes. You renovate. You get a new pet. You replace the kitchen benchtop. An update log at the end of the template lets you track changes with dates so both you and your cleaner can see when information was last reviewed.
| Date | Section Updated | Change Made | Updated By |
|---|---|---|---|
| January 2026 | Surface Restrictions | Added marble benchtop to kitchen | Homeowner |
| February 2026 | Access Details | New lockbox code issued | Homeowner |
| March 2026 | Pets | New dog added — kept in laundry during cleans | Homeowner |
How Should You Format a Cleaning Instructions Template?
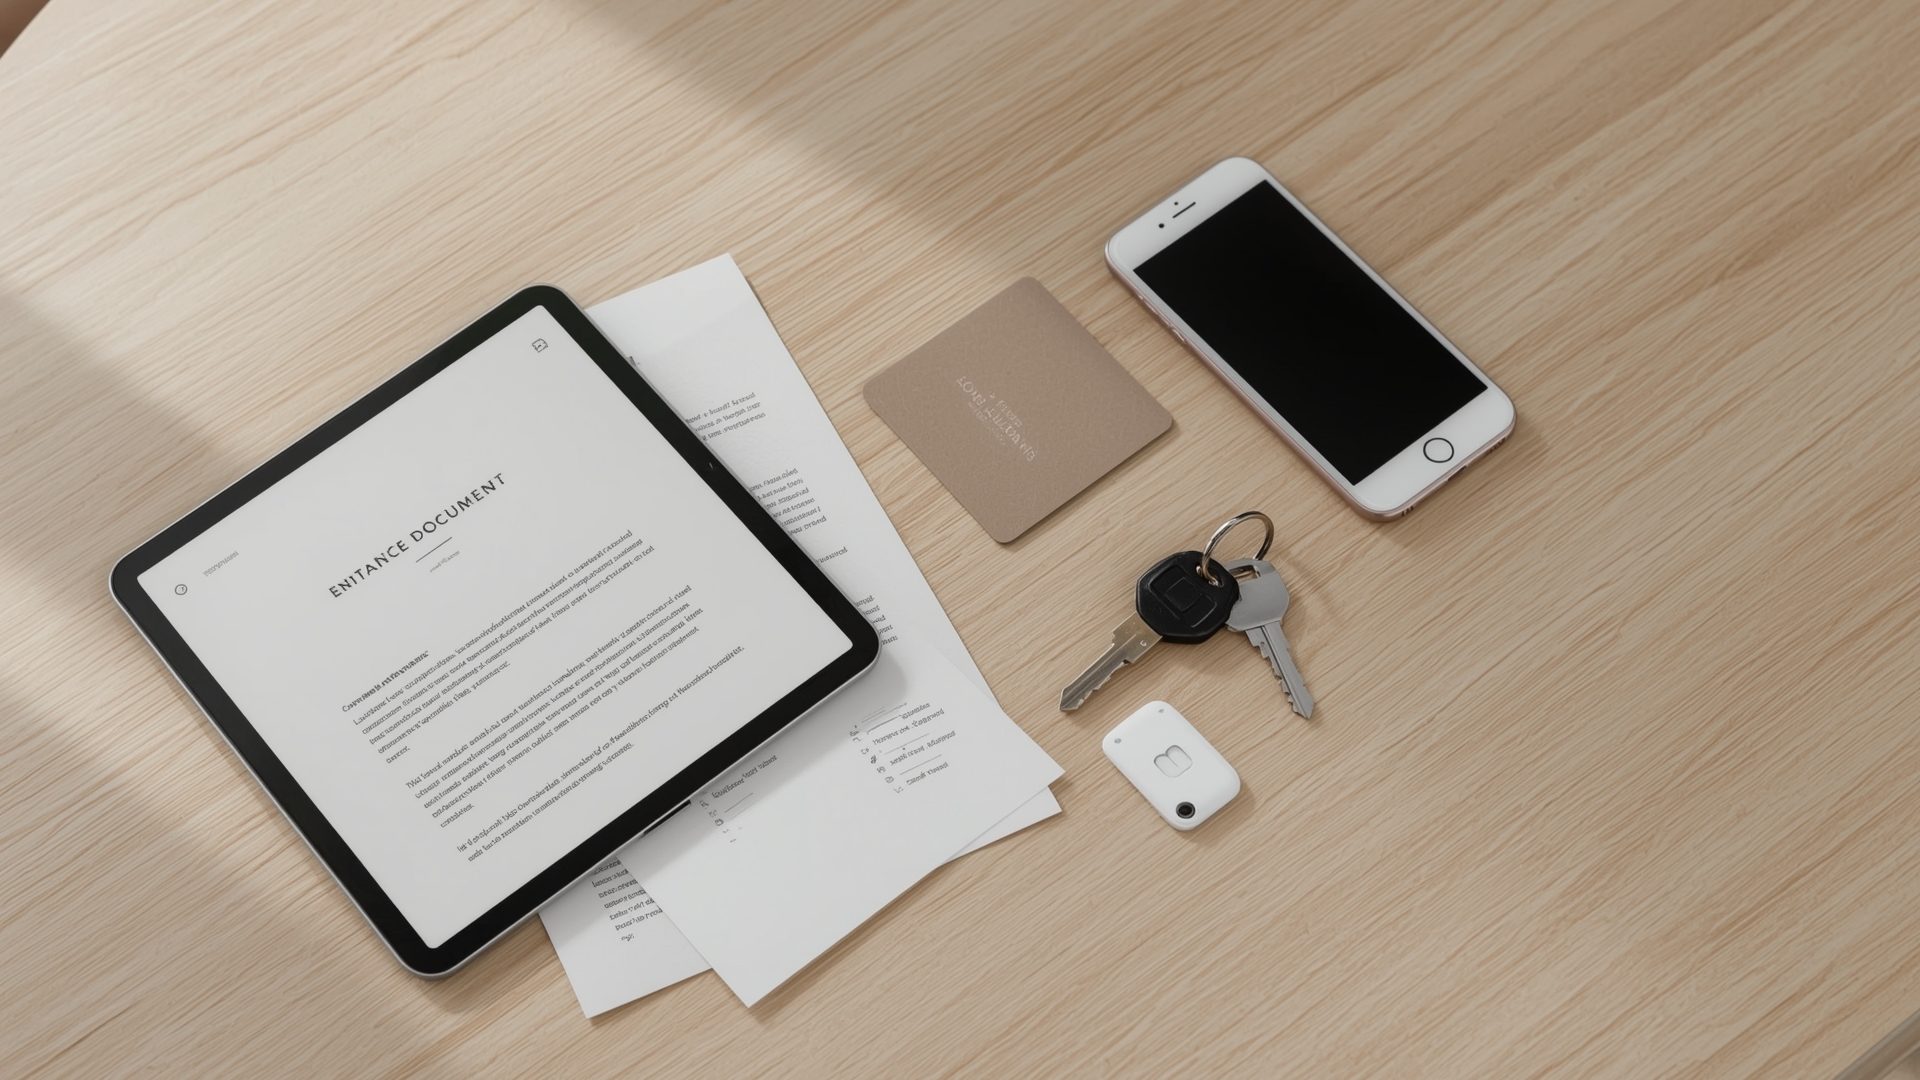
Quick Answer: Use a simple one-page or two-page format in Google Docs, Word, or PDF. Bold section headers, use tables for product and surface data, and keep instructions in plain language. A laminated printed copy kept in a consistent spot at home works best for quick cleaner reference.
The format matters more than you might think. A wall of text is hard to scan quickly. Your cleaner shouldn’t need ten minutes to find the alarm code when they’re standing at the front door.
Here are the formatting approaches that work best:
- Google Docs or Word: Easy to update and reshare via email or link. Works well for digital-only relationships.
- Printed and laminated: Left in a consistent spot inside the home (like the kitchen bench or a designated cleaning drawer). Ideal for in-person access.
- PDF on your phone: You can pull it up quickly if your cleaner calls with a question. Also easy to email to a new cleaner if you ever switch services.
Keep the template to two pages maximum. If it runs longer than that, you’re adding detail that belongs in a separate cleaning scope document, not an instructions reference sheet.
How Do You Share a Cleaning Instructions Template With Your Cleaner?
Quick Answer: Share your template before the first recurring visit via email, printed copy left at home, or a shared cloud document. Walk through it together on the first clean, confirm the cleaner has read it, and update them directly whenever changes are made.
Don’t just email it and assume it’s been read. At the start of your first recurring clean, take five minutes to walk through the template together. Point out the non-negotiable items — the surface restrictions in particular. Ask if they have any questions.
After that initial walkthrough, the template does the work. When you update it, send a quick message flagging what changed. You don’t need to resend the whole document — just say “I’ve updated Section 4 — added the new bathroom vanity to the restricted surfaces list.”
What Happens If You Don’t Use a Cleaning Instructions Template?
Quick Answer: Without a template, recurring clients often experience repeated errors, surface damage from wrong products, and frustration from re-explaining preferences. The lack of written documentation also makes it harder to resolve disputes with a cleaning service if issues arise.
Most cleaning complaints come down to communication failures, not cleaner incompetence. The cleaner didn’t know your stone benchtop needed a specific product. They didn’t know the dog needed to stay in the laundry. They didn’t know the spare key moved.
A written template doesn’t just solve these problems — it shifts responsibility. When instructions are clearly documented and the cleaner confirms they’ve received them, both parties are accountable. That’s a better foundation for a long-term cleaning relationship than good intentions and verbal promises.
How Often Should You Update Your Cleaning Instructions Template?
Quick Answer: Review your cleaning instructions template every three to six months as a routine check. Update it immediately after any home change — a renovation, new appliance, new pet, or access change. Never wait until after a problem occurs to update the document.
The biggest mistake homeowners make is treating the template as a “set and forget” document. Your home evolves. Your preferences evolve. New surfaces get added. Products change. Access arrangements shift.
A quick ten-minute review every few months keeps the document accurate. The update log section makes this easy. You can see at a glance when you last reviewed each section and what changed.
Can You Use the Same Template Across Multiple Cleaning Services?
Quick Answer: Yes. A well-structured cleaning instructions template is portable. If you switch services, hire a temporary cleaner, or use a different company for a deep clean, the same document gives any new cleaner your full preferences without you needing to explain everything from scratch.
This portability is one of the most underrated benefits of having a written template. When you switch cleaning providers, you don’t start from zero. You hand over your document, walk through it once, and the new cleaner already knows your surface restrictions, product preferences, and access details.
Keep a master version that you update. When you need to share it, export a PDF or print a copy. You never lose your preferences, no matter how many times your cleaner changes.
Frequently Asked Questions
Do I need a cleaning instructions template if I already have a cleaning contract?
Yes. A cleaning contract covers terms like payment, cancellation, and liability. A cleaning instructions template covers how you want the actual cleaning done. They serve different purposes and both are worth having.
What’s the difference between a cleaning instructions template and a cleaning checklist?
A cleaning checklist lists what rooms or tasks should be completed. A cleaning instructions template covers how those tasks should be done — which products to use, which surfaces to avoid, and what your personal rules are. Both documents can be used together.
Should I include my Wi-Fi password in the template?
Only if your cleaner needs it for a smart home system, alarm, or music. If they don’t need Wi-Fi access to do their job, leave it out. Keep the template focused on cleaning-relevant information only.
What if my cleaner doesn’t follow the template instructions?
Start with a direct conversation. Reference the specific section they didn’t follow. If the issue continues, your written template becomes documentation for any formal dispute or service complaint with the cleaning company.
Can I ask my cleaning company for their own standard template to fill out?
Yes, and many professional cleaning companies have their own client intake forms. You can fill out their version and also keep a personal copy. Having your own version ensures you always have your preferences documented, regardless of which service you use.
How detailed should the surface restrictions section be?
As detailed as the surface requires. For standard painted walls or laminate floors, a brief note is fine. For natural stone, hardwood, specialty coatings, or antique furniture, include the surface material, the restricted product types, and the approved alternative. The more a surface costs to repair or replace, the more detail you should add.