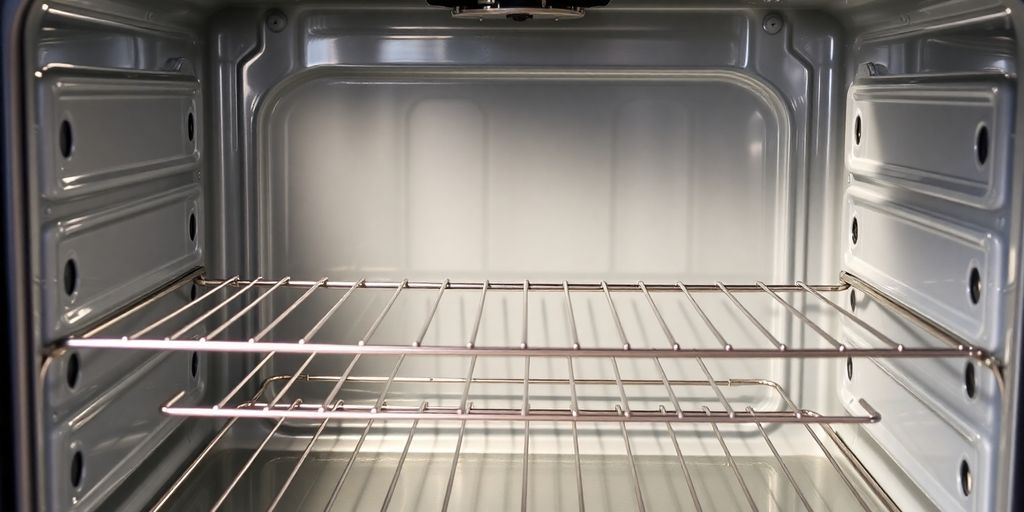
What Is a Self-Cleaning Oven and How Does It Work?
Keeping your kitchen appliances looking their best can feel like a chore, especially when it comes to the oven. Food splatters and grease can build up over time, making cleaning a dreaded task. Fortunately, many modern ovens come equipped with a self-cleaning feature. But what exactly is a self-cleaning oven, and how does it handle those tough messes? Let’s break down how this handy function works and how you can use it effectively.
Key Takeaways
- A self-cleaning oven uses extremely high temperatures to burn food residue into ash, which can then be easily wiped away.
- Before starting a self-cleaning cycle, always remove oven racks, cookware, and any loose debris from the oven cavity.
- Proper ventilation is important during the self-cleaning process; open windows and use your range hood to manage heat and potential smoke.
- Never use commercial oven cleaners on a self-cleaning oven, as they can damage the interior coating and reduce the effectiveness of the self-cleaning function.
- While the self-cleaning cycle is powerful, manual cleaning of spills as they happen can reduce the need for frequent high-heat cycles and minimize smoke.
Understanding Your Self-Cleaning Oven
So, you’ve got one of those fancy self-cleaning ovens, huh? It sounds like a dream, right? No more scrubbing until your arms ache! But how does it actually work, and what’s the magic behind that sparkling clean interior? Let’s break it down.
How a Self-Cleaning Oven Works
Basically, these ovens use super high heat to turn food residue and grease into ash. It’s a pretty intense process that takes a few hours. Before you even think about hitting that button, there are a few things you need to do to prep your oven. Think of it like getting ready for a big cleaning day, but the oven does most of the heavy lifting.
The Science Behind the Sparkle
It all comes down to pyrolysis. That’s the fancy word for heating something up so much that it breaks down into its basic components. In your oven’s case, the temperature gets cranked up to around 800-1000 degrees Fahrenheit. At these extreme temperatures, any leftover food bits, grease splatters, or sugary spills inside the oven cavity get incinerated. They turn into a fine, powdery ash. Pretty neat, huh?
Pyrolytic Cleaning Explained
This high-heat method is called pyrolytic cleaning. It’s super effective for getting rid of tough, baked-on grime. However, because it gets so hot, the oven door locks automatically for safety. You can’t open it until the oven has cooled down completely. It’s important to remember that this process can create some smoke and odors, so good ventilation is a must. You’ll want to open a window or turn on your range hood. Also, it’s a good idea to remove oven racks and any other accessories from inside the oven before starting the cycle, as the intense heat can damage them. You can find more information on how to use oven features on KitchenAid’s website.
Here’s a quick rundown of what happens:
- Pre-heating: The oven heats up to a very high temperature.
- Incineration: Food residue turns into ash.
- Cooling: The oven door stays locked until it’s safe to open.
- Wiping: You wipe away the ash with a damp cloth.
While the self-cleaning cycle is powerful, it’s not a magic wand for every mess. Some stubborn spots might still need a little manual attention afterward. Also, always check your oven’s manual for specific instructions related to your model.
Preparing for the Self-Cleaning Cycle
Getting ready for your oven’s self-cleaning cycle is pretty straightforward, but doing it right makes a big difference. It’s all about prepping the oven so the high heat can do its job without causing extra smoke or damage. Think of it like getting your car ready for a long road trip – a little prep goes a long way.
Essential Pre-Clean Steps
Before you even think about hitting that ‘Clean’ button, there are a few things you absolutely need to do. First off, take out everything from inside the oven. This means oven racks, broiler pans, any foil liners, and even those little metal racks that might be in there. These items can get damaged by the extreme heat or even warp, and they can also interfere with the cleaning process. Also, give the inside of the oven door and the area around the oven cavity frame a quick wipe-down with a damp cloth. Just be careful not to mess with the gasket – that rubbery seal around the door. It’s important for keeping the heat in, and you don’t want to damage it. Cleaning the oven window glass beforehand is also a good idea; any baked-on gunk left there might turn into stubborn dark streaks during the cycle.
Clearing Out the Oven Cavity
This step is super important. You’ve got to remove all the loose debris from the oven. Use a damp cloth to wipe out any crumbs, spills, or residue you can see. This helps reduce the amount of smoke produced during the cleaning cycle. If you have a lot of built-up grease or food bits, a quick scrub with a little dish soap and water or a vinegar solution can help loosen things up. Just make sure not to let any liquid seep into the door frame slots, as this can cause problems. It’s also a good time to check your oven’s manual for any specific cleaning recommendations for your model. Some manufacturers suggest specific pre-cleaning steps.
Don’t Forget the Oven Door
While you’re prepping, pay special attention to the oven door. Make sure it’s closed completely. Most self-cleaning ovens have a lock that engages automatically when the cycle starts, and it won’t begin if the door isn’t shut tight. Also, remember not to clean the door gasket itself with any harsh cleaners or scrubbers. It’s designed to create a tight seal, and damaging it can affect the oven’s performance and the efficiency of the self-cleaning cycle. A gentle wipe with a damp cloth is usually all it needs. If you’re looking for more detailed instructions, checking out resources on how to clean an oven can be helpful.
Post-Cleaning and Maintenance
So, your oven has finished its high-heat cleaning cycle and cooled down. Great job! Now comes the part where you tidy up the results. The main thing to remember is that the self-cleaning cycle turns baked-on grime into a fine ash.
Wiping Away the Ash
Once the oven is completely cool – and I mean really cool, give it a few hours – you’ll find a powdery residue inside. This is the ash left behind from the burnt-on food bits. Grab a damp cloth or sponge and simply wipe it all out. For most ovens, this ash wipes away pretty easily thanks to the special enamel coating inside. If you have some stubborn spots, a little bit of water mixed with baking soda can make a paste that helps lift them. Just be sure to avoid the door gasket and any heating elements. You can also use a bit of diluted vinegar for tougher bits.
Manual Touch-Ups
Sometimes, even after a self-clean cycle, a few spots might linger, especially if they were really tough to begin with. Don’t be tempted to use harsh chemical oven cleaners, as these can actually damage the oven’s interior and its self-cleaning capabilities over time. Instead, stick to gentle methods. A soft cloth with some mild dish soap and water, or that baking soda paste we just talked about, should do the trick for any missed spots. Remember, regular wiping after cooking can prevent these tough spots from forming in the first place.
Keeping Your Oven Clean Longer
To make your next self-cleaning cycle less intense, or to reduce how often you need to run it, try a little regular maintenance. Wiping up spills as soon as the oven is cool enough after use can make a big difference. Think of it like this: if you catch a spill right away, it hasn’t had a chance to bake on and become a real problem. For everyday messes, a quick wipe-down with a damp cloth after cooking is often all that’s needed. This simple habit can save you a lot of hassle down the road and keep your oven looking its best. For stainless steel surfaces, check out tips on cleaning stainless appliances to keep them shining.
Avoiding heavy buildup means your self-cleaning cycle will be more effective and produce less smoke and odor. Plus, it helps protect the oven’s interior finish from potential damage caused by extreme heat over time.
Safety First with Self-Cleaning Ovens
Using your oven’s self-cleaning feature can be a real time-saver, but it’s super important to do it safely. These cycles get really hot, like up to 850°F, to burn off food gunk. While generally safe if you follow the rules, there are a few things to keep in mind to avoid any issues.
Ventilation is Key
When that self-cleaning cycle kicks in, it can create some smoke and odors. Opening windows and running your kitchen hood fan is a must. This helps clear out the air and keeps your kitchen from getting too smoky or smelly. It’s like giving your oven some fresh air to breathe while it does its thing.
Keeping Pets and Children Safe
Those high temperatures can be tough on more than just baked-on food. Small animals, especially birds, are really sensitive to the fumes that can come off during the cleaning. It’s best to move them to a different, well-ventilated room, or even outside in a secure cage, until the cycle is completely finished and the oven has cooled down. Also, keep little kids out of the kitchen while the oven is running and until it’s cool. The oven door and surrounding areas can get quite hot.
What Not to Do During Cleaning
There are a few definite no-nos when it comes to self-cleaning. First off, never use commercial oven cleaners or put any kind of protective liner or foil inside the oven before running the cycle. These can actually damage the oven’s interior or create dangerous fumes. Also, make sure you remove everything from the oven, including racks and any foil you might have used for baking. It’s also a good idea to wipe out any big chunks of food or grease before you start the cycle. This helps reduce smoke and makes the cleaning process smoother. You can find more tips on preparing your oven for cleaning at your oven’s manual.
Always double-check your oven’s specific manual before running the self-cleaning cycle. Different models might have slightly different instructions or recommendations to keep things running smoothly and safely.
Alternatives to High-Heat Cleaning
While the self-cleaning cycle is a handy feature, it’s not the only way to get your oven sparkling. Sometimes, you might want to skip the intense heat, maybe because your oven is older, you’re worried about fumes, or you just need a quicker fix. Luckily, there are other methods that work pretty well.
Exploring Steam Cleaning Options
Many newer ovens come with a steam clean feature. This is a gentler approach that uses water and a bit of heat (usually under 200°F) to loosen up grime. You typically pour a cup or two of water into the oven’s bottom, start the cycle, and then wipe away the loosened mess afterward. It’s a good option for lighter messes and doesn’t produce the strong odors that high-heat cleaning can. It’s also much faster, often taking less than an hour.
Manual Cleaning Methods
Don’t underestimate the power of good old-fashioned elbow grease! You can absolutely clean a self-cleaning oven manually, and sometimes it’s even better for really tough spots. A popular DIY method involves making a paste of baking soda and water. Spread this paste all over the oven’s interior, let it sit for a while (even overnight for stubborn stains), and then wipe it clean. For really stuck-on bits, a plastic scraper can help. You can also use white vinegar or lemon juice to help cut through grease. This method is great because you control the process and avoid the high temperatures altogether. It’s a solid way to maintain a clean oven.
When to Call a Professional
If your oven is really old, has a lot of baked-on gunk, or if you’re just not comfortable tackling the cleaning yourself, hiring a professional is always an option. Appliance repair services or specialized oven cleaners have the tools and experience to get even the dirtiest ovens looking like new. They can often handle deep cleaning tasks that might be too much for a DIY approach, especially if your oven has seen better days or you suspect there might be underlying issues.
So, Is a Self-Cleaning Oven Worth It?
Alright, so we’ve gone over how these self-cleaning ovens work, basically by turning all that baked-on gunk into ash with super high heat. It’s pretty neat, right? Just remember to prep your oven a bit beforehand, like taking out the racks and wiping up any big crumbs. And definitely keep pets and little ones away while it’s running – that heat is no joke. While it’s not a magic wand for every single mess, and sometimes a good old manual scrub is still needed, it can really cut down on the elbow grease. So, if you’re looking to make kitchen cleanup a little less of a chore, a self-cleaning oven could be a solid choice for your home.
Frequently Asked Questions
How does a self-cleaning oven actually clean itself?
Self-cleaning ovens use super high heat to turn food bits and grease into ash. After the cycle finishes and the oven cools down, you just wipe away the powdery remains with a damp cloth. It’s like magic for your oven!
What do I need to do before running the self-cleaning cycle?
Before you start the self-clean, you need to take out oven racks, any pots or pans, and loose food bits. Also, wipe down the inside edges of the oven door and the frame around it. It’s important to make sure the oven door is closed tight so it locks properly for the cleaning.
Can I clean my self-cleaning oven manually instead?
Yes, you can clean it by hand! You can make a paste of baking soda and water, spread it inside, let it sit, and then wipe it clean. This is a good option if you want to avoid the really high heat or if your oven isn’t too dirty.
How often should I use the self-cleaning feature?
It’s best to run the self-cleaning cycle when the oven isn’t super dirty. If there’s a lot of gunk, it might smoke more and take longer. Cleaning up spills as they happen can help you use the self-clean feature less often and keep things running smoothly.
What safety precautions should I take when using the self-cleaning feature?
You should definitely make sure the kitchen is well-ventilated by opening windows or turning on the exhaust fan. It’s also a good idea to keep pets, especially birds, in a different room while the oven is cleaning because the fumes can bother them. And, of course, keep kids away from the hot oven.
What happens if I need to stop the self-cleaning cycle early?
You can usually stop the cycle early, but the oven door will stay locked until it cools down completely. Trying to force it open can damage the oven. So, it’s best to let it finish its cooling period.